Classroom kit fit check
One vector file tested across three plywood samples before a full class set is scheduled.
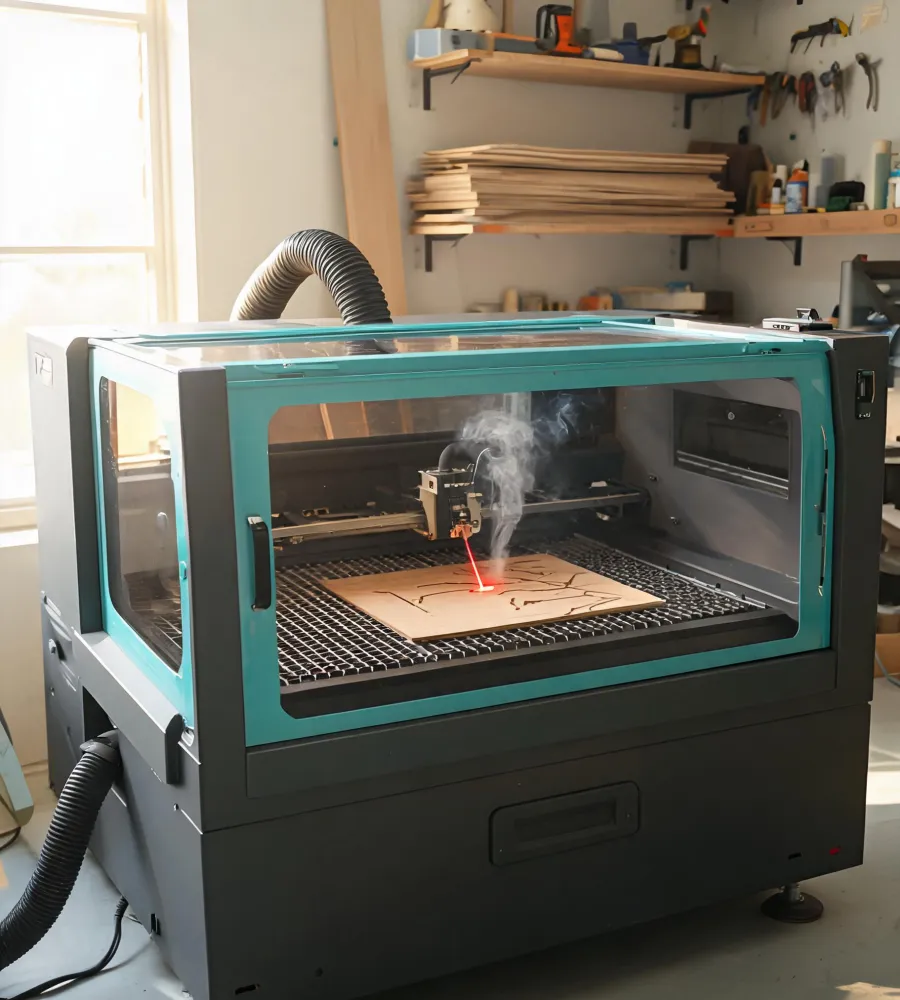
Compare cutting and engraving paths for wood, acrylic, leather, paper, and coated materials—then validate the settings on a representative sample.
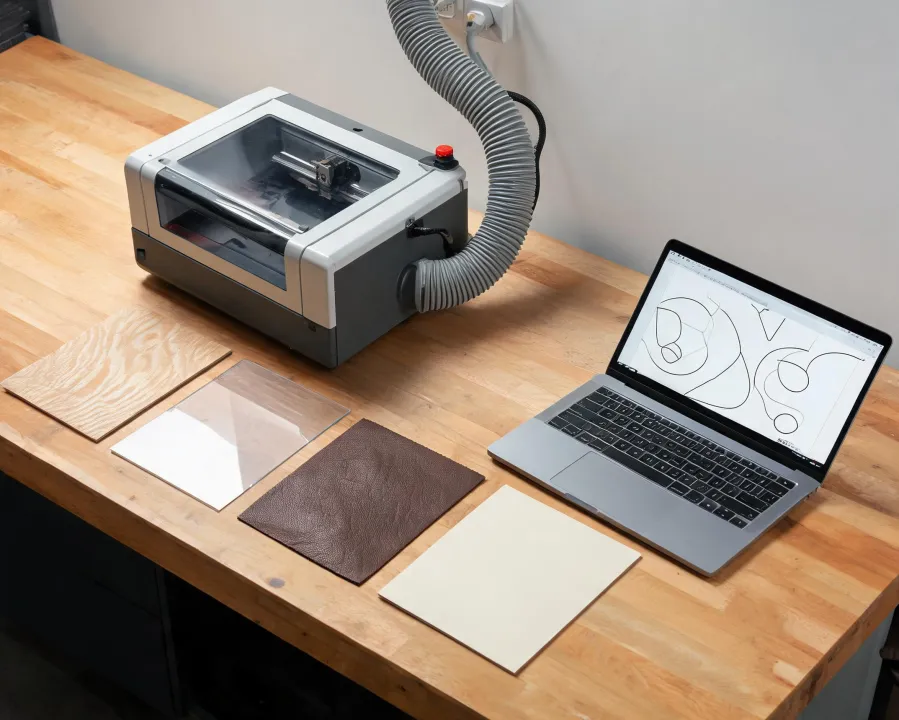
Record composition, thickness, coating, and supplier lot; unknown plastics and PVC-containing stock do not belong in a laser trial.
Check the lens, windows, focus position, bed clearance, and workholding before judging cut quality.
Confirm the exhaust path, filter condition, room make-up air, and local requirements before processing smoke-producing materials.
Run a small matrix, inspect kerf and edge condition, and keep the accepted file with its material notes.
Each tile represents a different reason to test: fit, surface contrast, fold behavior, or repeatability.


These are transparent workflow examples, not customer performance claims; actual results depend on the machine, material lot, maintenance state, and test conditions.
One vector file tested across three plywood samples before a full class set is scheduled.
Speed, power, and pass count recorded beside edge finish and dimensional observations.
The accepted file stays linked to cardstock weight, scoring sequence, and assembly notes.
Describe the part, material, thickness, quantity, finish expectation, and ventilation setup. The response can start with a practical test plan.